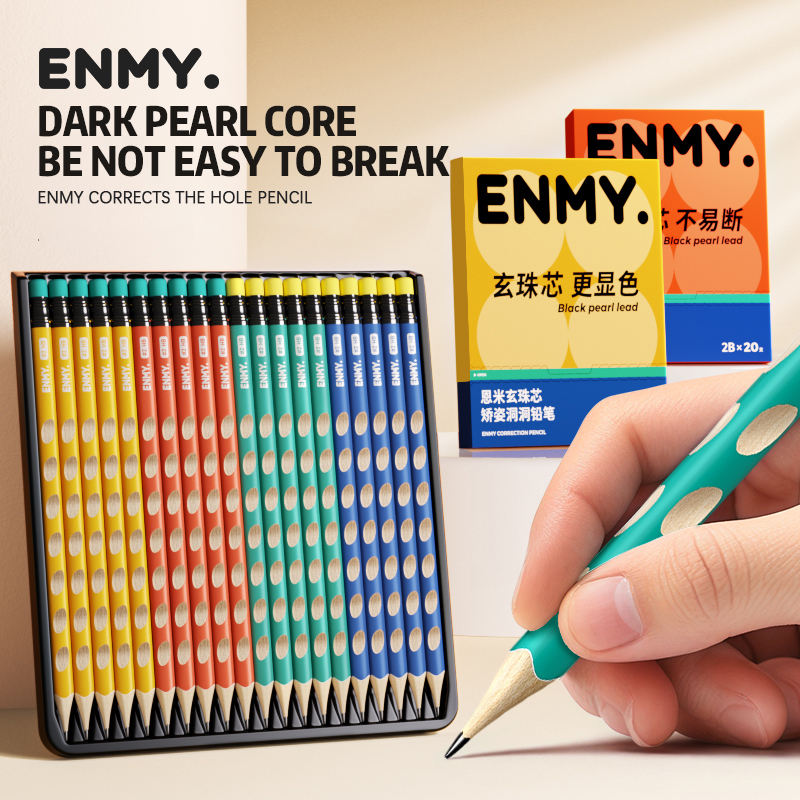
A seemingly simple colored pencil actually embodies the wisdom of multiple sophisticated processes. From powdery raw materials to a brush that can outline a colorful world, each step requires precise control to achieve a smooth writing experience and vivid color presentation.
Step 1: Perfect Integration of Pigment and Carrier – Core Production
The soul of a colored pencil lies in its core, and its production is the most crucial link in the entire process. Firstly, the raw materials are proportioned, which mainly include pigments (determining the color), binders (usually carboxymethyl cellulose or gum arabic, responsible for forming), fillers (such as talc, calcium carbonate, adjusting hardness), and lubricants (such as stearic acid, improving smoothness). For cores of different colors, the proportion of pigments varies significantly: a red core may contain 30% iron oxide red, while a yellow core is mainly composed of 25% chrome yellow, and the proportion of fillers will be adjusted accordingly to ensure that the cores of all colors have the same hardness.
The raw materials need to be mixed in a high-speed stirring device, where pigments, fillers, and binder solutions are fully blended to form a fine paste-like mixture. The key here is to remove air bubbles – if the mixture is uneven or air bubbles remain, the core is prone to breakage or color difference. Subsequently, the paste-like raw material is fed into an extruder and pressed into slender core strips (usually 2-3 millimeters in diameter) through a specially made mold, shaped as precisely as squeezing cream. The formed core strips need to be dried in a constant temperature and humidity environment for several days until the moisture content drops below 5% to ensure that the hardness meets the standard.
Step 2: Fine Processing of Wooden Shells
The choice of wood for the pen barrel directly affects the grip and environmental performance. High-quality colored pencils mostly use basswood, fir, or white pine, which are soft, have fine textures, and are not easy to deform. The wood is first cut into thin boards with a thickness of about 5 millimeters. After being softened by steam, a grooving machine is used to cut out slender grooves matching the diameter of the core on the board surface (the depth is about half of the board thickness). The groove walls must be smooth and free of burrs to avoid damaging the core.
Another part of the thin boards is processed into “cover plates” – the part that covers the core. The surface of the cover plate will be sanded to ensure a smooth touch, and some high-end products will also be primed at this stage to lay the foundation for subsequent pattern printing. The moisture content must be controlled during the wood processing (usually 8%-12%). Excessive moisture can easily cause the pen barrel to deform, while too low moisture may lead to cracking in subsequent processes.
Step 3: Precise Combination of Core and Pen Barrel
This step can be called the “assembly stage”, which requires embedding the dried core into the groove of the pen barrel thin board. A robotic arm will accurately grab the core and place it into the groove one by one, ensuring that the core is centered and aligned at both ends. Then, the cover plate coated with environmentally friendly glue (mostly polyvinyl alcohol glue) is accurately covered on the groove, and uniform pressure (about 5-10 kg/cm²) is applied by a press to make the pen barrel and cover plate tightly bonded. The bonded pen barrel strips need to stand for several hours until the glue is completely cured, forming a “pencil blank” – a long strip of wood containing multiple pencils.
The cured pencil blanks will be sent to cutting equipment and cut into individual pencils according to the standard length (usually 17.5 cm). During the cutting process, the blade must remain sharp to avoid core breakage due to vibration, and the cut must be flat to prepare for subsequent sharpening.
Step 4: Surface Decoration and Quality Polishing
The “appearance” and texture of individual pencils are shaped at this stage. The first is the printing process, where brand logos, color names, or cartoon patterns are printed on the surface of the pen barrel through a rotary printing machine. The printing ink must meet environmental standards (especially for children’s stationery) and have strong adhesion, which is not easy to fall off after friction. Some products will also undergo processes such as gold stamping and embossing to enhance the texture.
After printing, the pencils will undergo multiple sanding treatments to remove surface burrs and ink particles, making the pen barrel feel delicate. Subsequently, some products will be sprayed with a layer of transparent varnish to enhance wear resistance and gloss, while isolating moisture and protecting the wood. The varnish needs to be cured by ultraviolet rays or dried at high temperature to ensure quick drying and no peculiar smell.
Step 5: Sharpening, Inspection, and Packaging
The final stage focuses on “usability” and “safety”. The sharpening machine uses a high-speed rotating blade to sharpen one end of the pencil into a standard taper (about 1.5 cm in length). The tip must be sharp and the core must be centered to avoid 歪斜. The sharpened pencils will undergo automatic inspection: optical instruments check whether the pen barrel has cracks and whether the printing is clear; mechanical equipment tests the core’s bending strength (the qualified standard is usually able to withstand a force of more than 3 Newtons); sampling tests the content of harmful substances in the core (such as heavy metals, soluble elements) to ensure compliance with children’s product safety standards.
Qualified colored pencils will be classified by color and packed into cartons or plastic boxes. Some sets will also come with accessories such as pencil sharpeners and brushes. The packaging must clearly mark the ingredients, safety certifications (such as EU CE, China GB standards), and instructions for use. Finally, after quality inspection, these colored pencils with ingenuity will enter the market, waiting to become “colorful magic wands” in children’s hands.
From powder to brush, the production of colored pencils is like a microcosmic artistic creation – the precise control of each process is only to make that color bloom on the paper, both smooth and safe.

